[gtranslate]

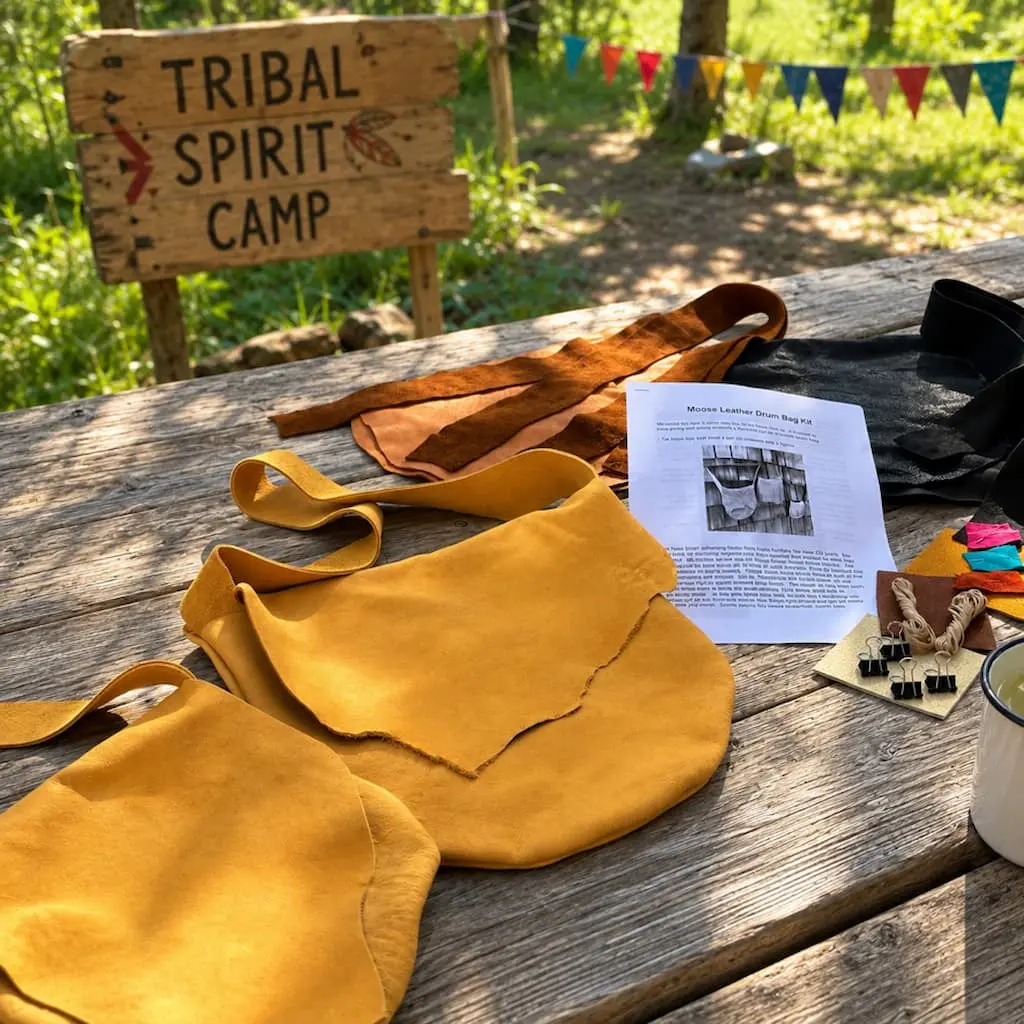
Celebrating 25 years of Tribal Spirit
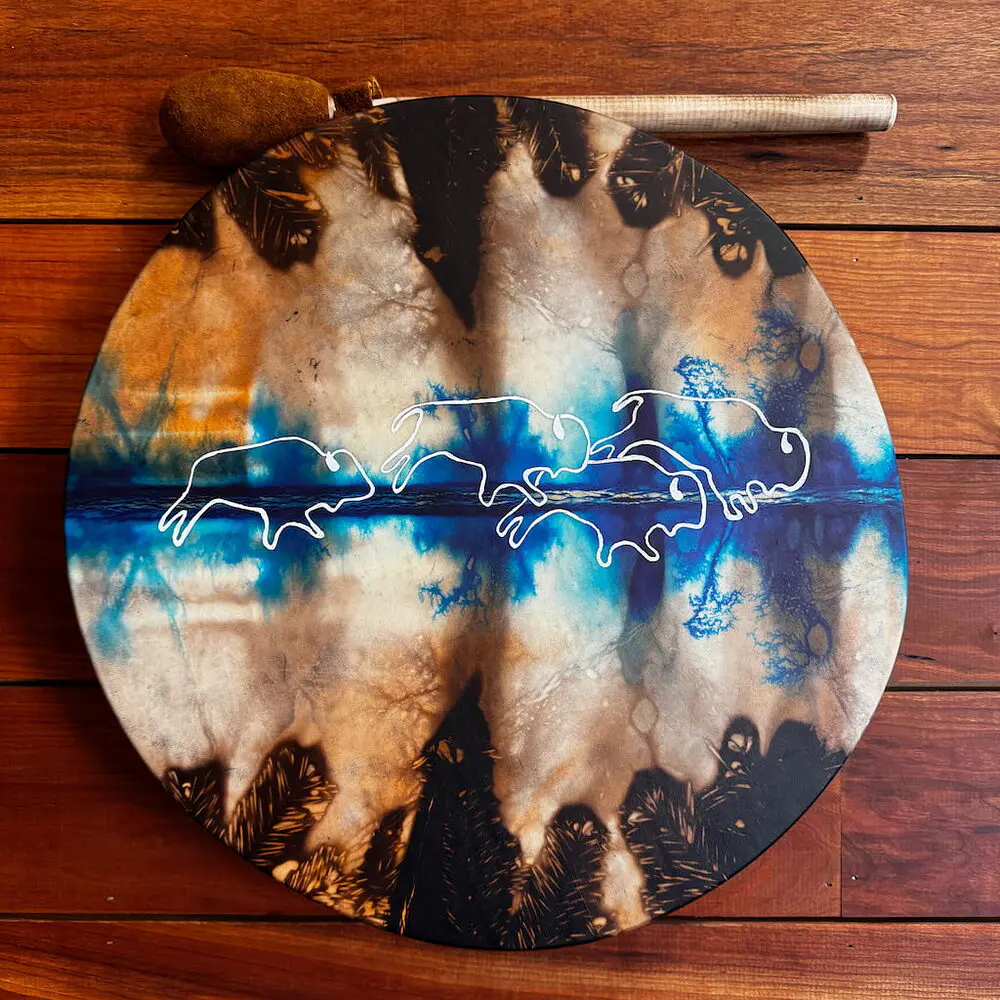
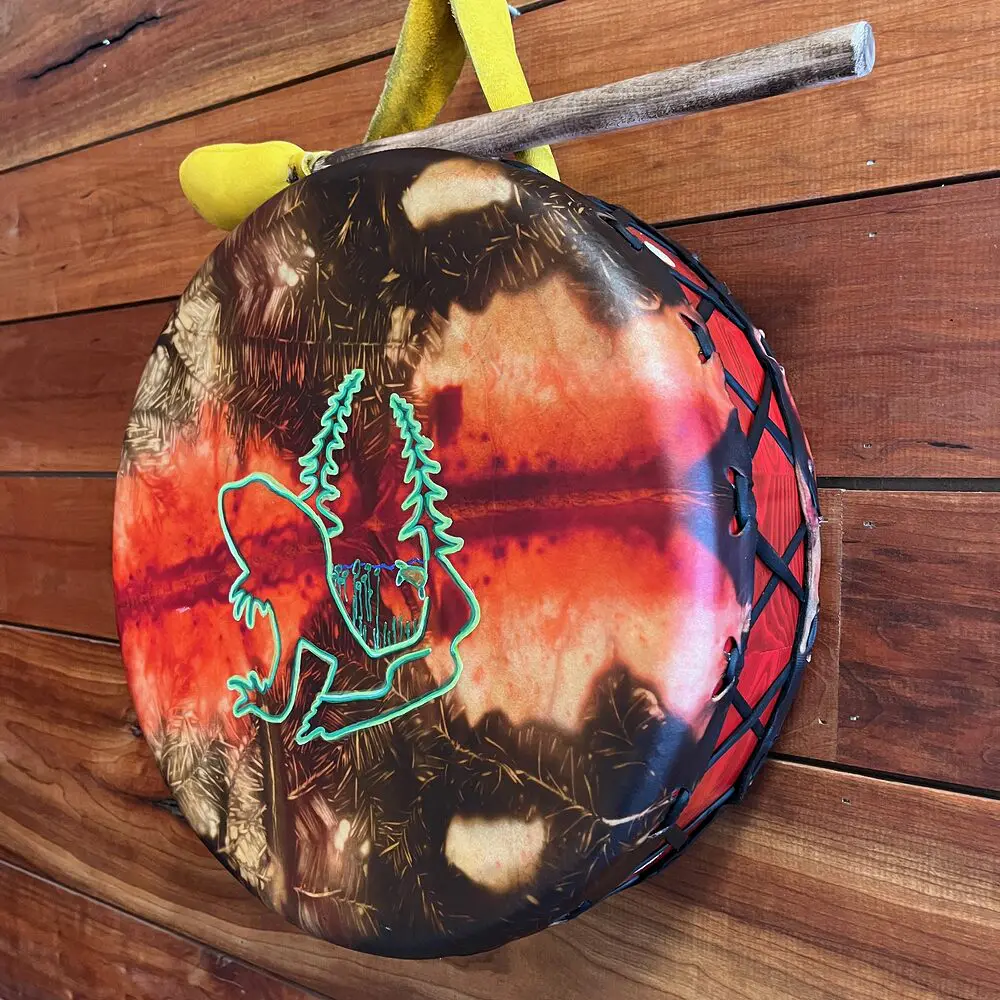
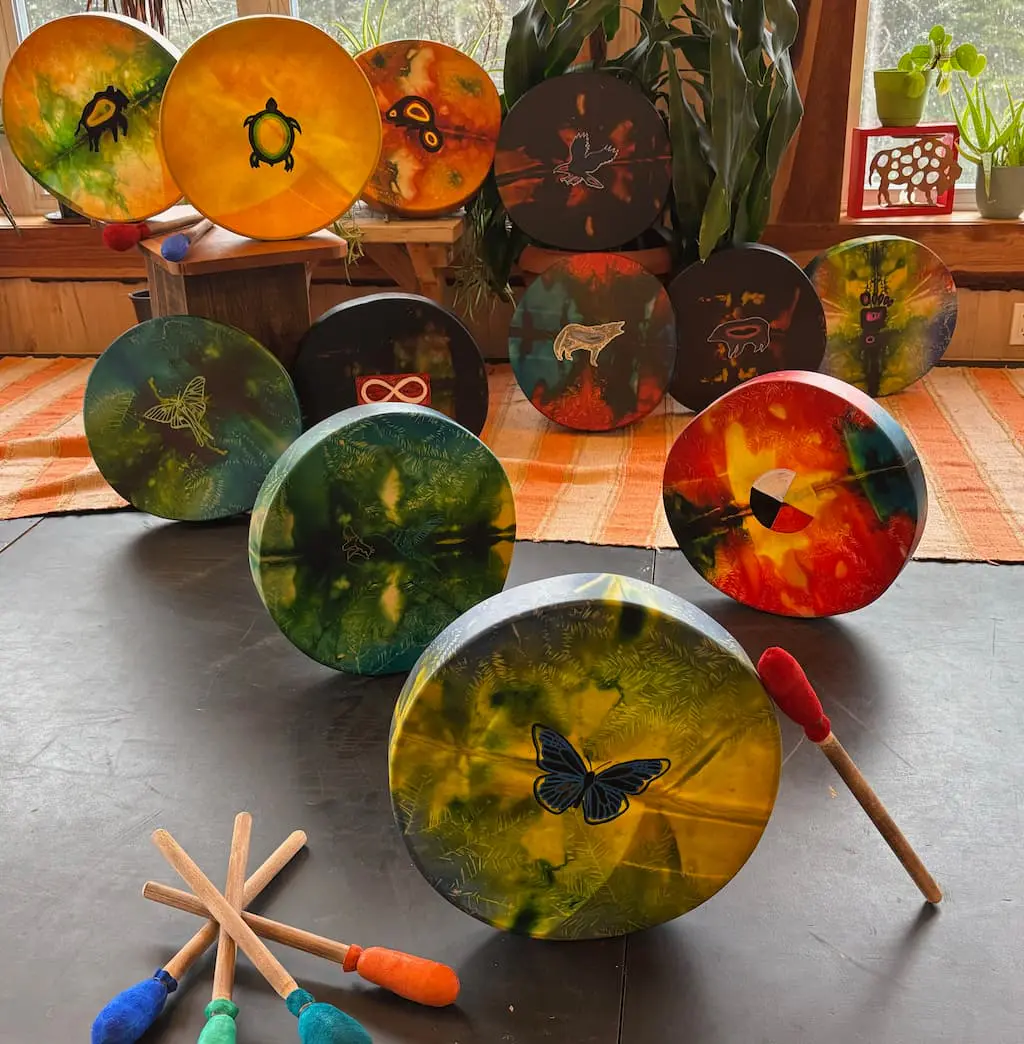
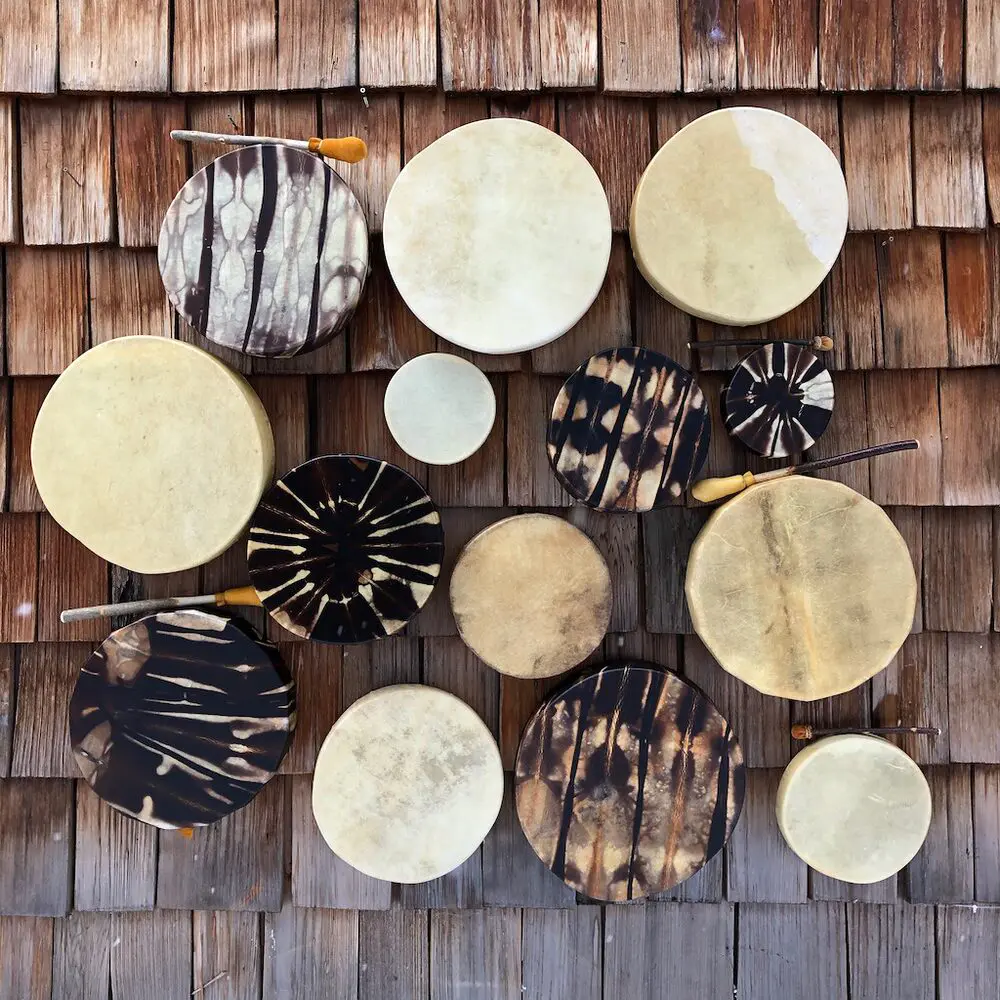
Tribal Spirit drums are now famous for being dramatic, colourful and certainly one-of-a-kind. We just love seeing group pictures of drummers on social media and picking out all the drums that came from our workshop. They certainly stand out in a crowd.
The dying of rawhide started with a very cool story….
In year 3 of Tribal Spirit on the Powwow Trail we were in California with our booth set op at a powwow near San Francisco. We were travelling in an RV (with our dogs) and were always on the look out for good places to set up our camp in between powwows to work on craft, drums etc. During the weekend we met a very kind woman who owned a Walnut Orchard in Winters CA and she offered for us to park and work under the Walnut trees.
We set ourselves up very comfortably. We filled a couple barrels with water and put deer rawhide in to soak for drum making the next day. One of the spring tasks required at any orchard involves the trimming of new growth shoots that the base of every tree trunk. It just so happens that these new shoots are just the perfect size for drum sticks…SO in a little win-win scenario I volunteered to cut them all. After a couple hours work all the trees were trimmed and I have a nice big pile of potential hand drums sticks. I started cutting them to 16” lengths….but as I was cutting them to length the bark just kept peeling off. In the forest during spring time the bark of virtually every tree will very easily peel off, just like a banana peal. So here I am pealing the bark off all the hand drums sticks leaving a wonderfully smooth wood stick…
Another peculiarity of walnut is that the hulls of the shells have been used for years as a ‘old school’ dye. Well, after 30 minutes of pealing the bark off the sticks….I discovered that not only are walnut shells good for dying but so is the spring sap that had turned both my hands extremely black. Shrugging my shoulders, I thought, ‘oh well, this will wash or wear off eventually.’ And continued pealing sticks….but then started looking at the barrel of water with the rawhide in it…and the pile of freshly pealed walnut bark. “I wonder?” And in a perfect Reese’s Chocolate Butternut Cup moment..gathered up all the bark, threw them in the water with the rawhide and mixed them up. “Let’s see what happens”
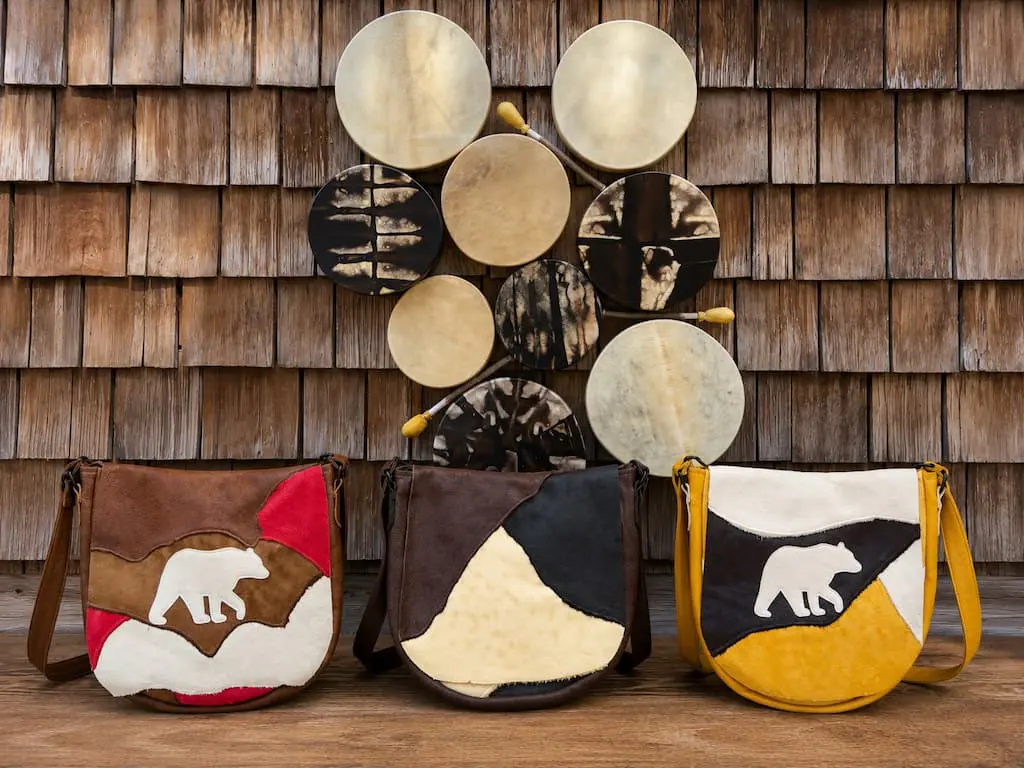
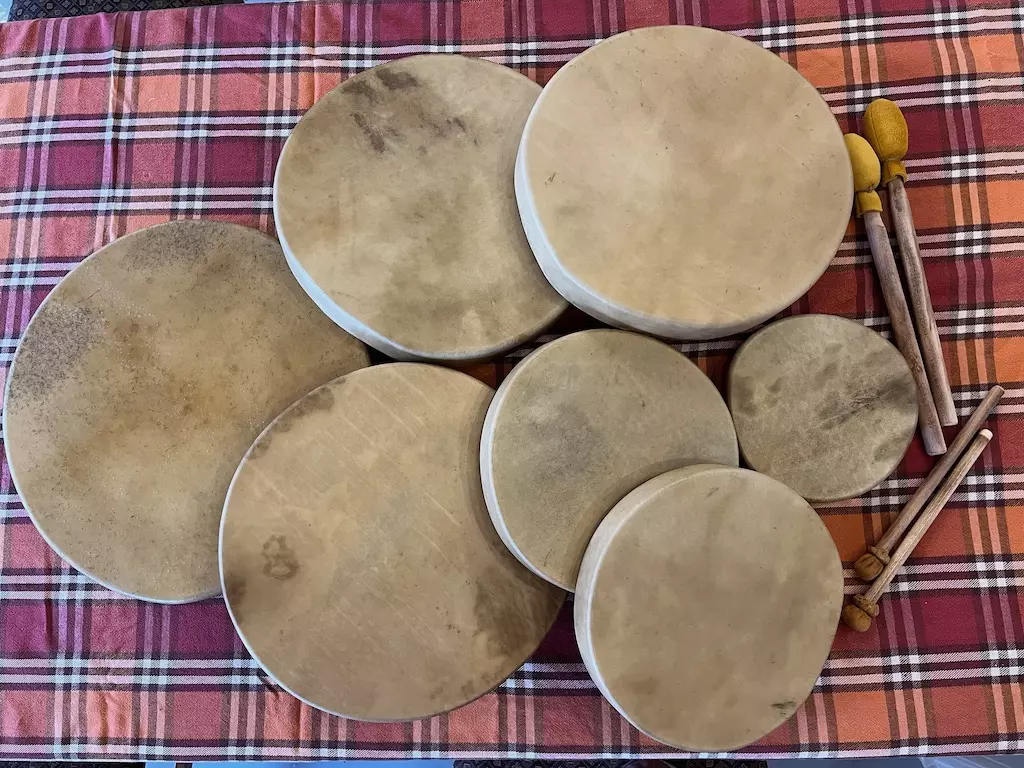
The next morning, we pulled the rawhide out of the black walnut dye mix and discovered that indeed, rawhide could be dyed!
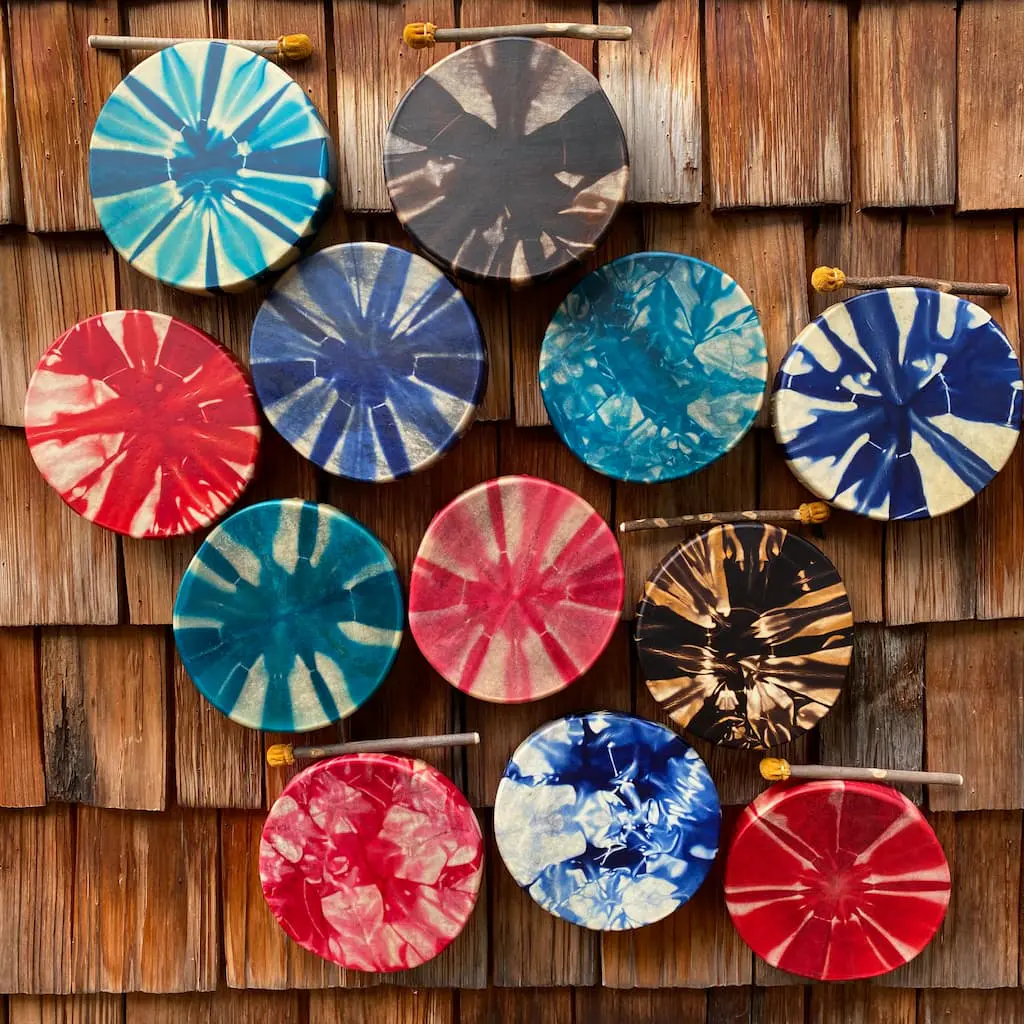
Over the next year Joywind and I continued to experiment with other dyes and colours. Initially people on the Trail were shy and not too sure of these ‘radical’ drums but Dyed Drums have now spread all over Indian Country and have been accepted as a form of art and self expression.
SO, how to dye rawhide. It is all too easy. If you have ever dyed a t-shirt, you can dye rawhide. There are tons of tricks of course. But here are some basics to get you going.
We have tried many many different types of dye. Walnut is wonderful but most vegetable dyes do not bond well or last on rawhide. So we have cheated using commercial dyes to get vivid dramatic colours. We recommend Rit Powder Dye (liquid doesn’t work) or Lee Valley Tools also has a powder dye for wood that is wonderful.
The best way to proceed is to soak your hide overnight to make it soft and pliable, cut you pattern (either for a rattle or drum) tie it up in any pattern your imagination can come up with and then soak it overnight in the dye mixture. Untie, rinse and then away you go.
For Rattles: Soak the hide overnight. With scissors cut out the rattle shape pattern (that we draw on the rawhide) and then tie up the 2 sides of the rattle (quite tight). Then you can throw the ball into the dye, overnight. In the morning cut the string and there will be beautiful random patterns. Now you can sew the rattle as per our rattle making instructions.

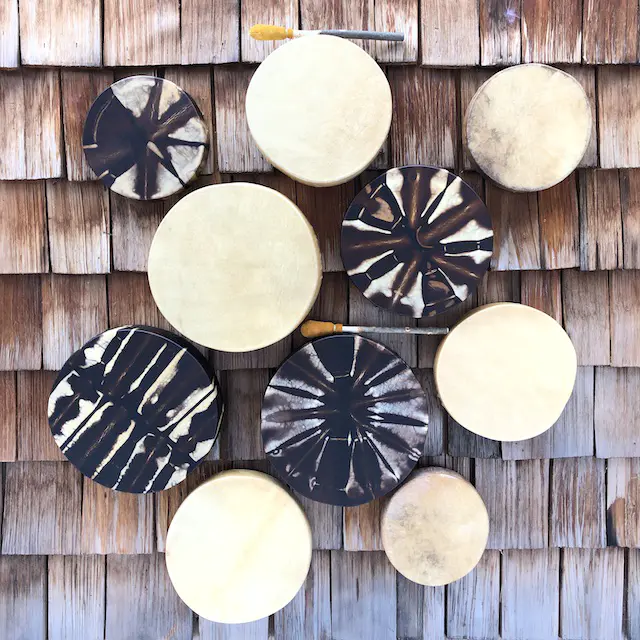
Hand Drums: Soak the rawhide overnight. Then, using string, tie the drum circle in any way you want. If you tie it into a ball you will get wild random patterns. If you fold it like an accordion you will get linear mirror image patterns. If you take a rock and tie the rock in the centre you will get traditional t-shirt tie dye circle patterns. Soak overnight again. Next day cut the string and rinse well. Now make your drum as per our drum kit making instructions.


We use your location to display prices in the correct currency and offer the best experience.